The Geocube system is made of one or several Geoports, two or more K2 or Geocubes, and optionally of other miscellaneous sensors. To operate the system, an admin with the corresponding rights should create a new project.
Access the Geo3 Interface #
The Geo3 interface allows you to consult the data from your Geocube system, set up your project, and configure the different export options accordingly to your needs. A new Geo3 interface is created when an admin creates a new project. The address where it is accessible is the form coord-XXXXX.customers.ophelia-sensors.com.
Any user who has access to a project can access it thanks to its credentials.
Check you can access the desired project.
Configure a Geoport #
Beforehand, an admin should have associated the Geoport with the project. To do so, follow the instructions here.
Install Geosight #
Download and install Geosight from this page.
Once Geosight is installed, connect your Geoport with the USB to Buccaneer cable labeled 4 pts. The following screen should appear.

Select the indicated port and click on Open Device.
Install the Drivers (Optional) #
If no port appears in the precedent step, you’ll need to download and install the drivers from this page.
Set the Geoport APN #
The following screen will pop up. To modify the APN corresponding to your service provider or the destination address corresponding to your project, fill in the corresponding field and click on Write.
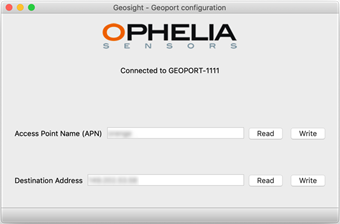
To find your APN, please refer to your service provider.
Insert a SIM Card #
To function, a Geoport requires a 3G SIM card. Geoports are compatible with any 3G subscription worldwide. Your 3G subscription should have a data plan of a minimum of 1 Go/month.
Make sure that the SIM card you will insert in the Geoport does not require a PIN code authentication. If you are not sure whether your SIM card is PIN locked or not, insert it in a phone and disable PIN security in the menu.
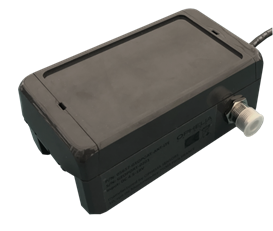
Check beforehand that no power is connected.
Open the Geoport lid.

Open the SIM card slot.

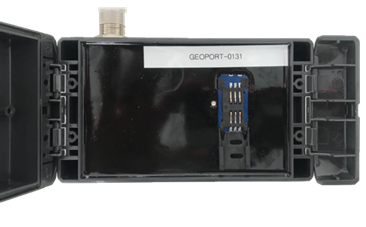
The device is designed for mini SIM cards. If you have a nano or a micro SIM card, you will need an adaptor.

Insert the SIM card
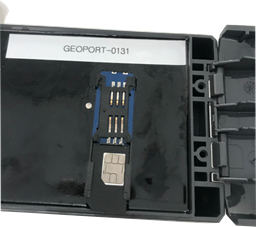
Close the slot.
Make sure you keep the number of your SIM card, since it may be necessary to communicate with the Geoport through SMS for troubleshooting issues.
Check the Geoport is connected #
Connect your Geoport to any powering device (or simply replug the Geoport to your computer). The green led should be lit for a minute while the system runs the initial setup. After a minute, the led will start flashing fast. It is now trying to connect to the 3G network.
If everything is well set up, after approximately one minute, the green led should start flashing slower (1s on – 1s off).
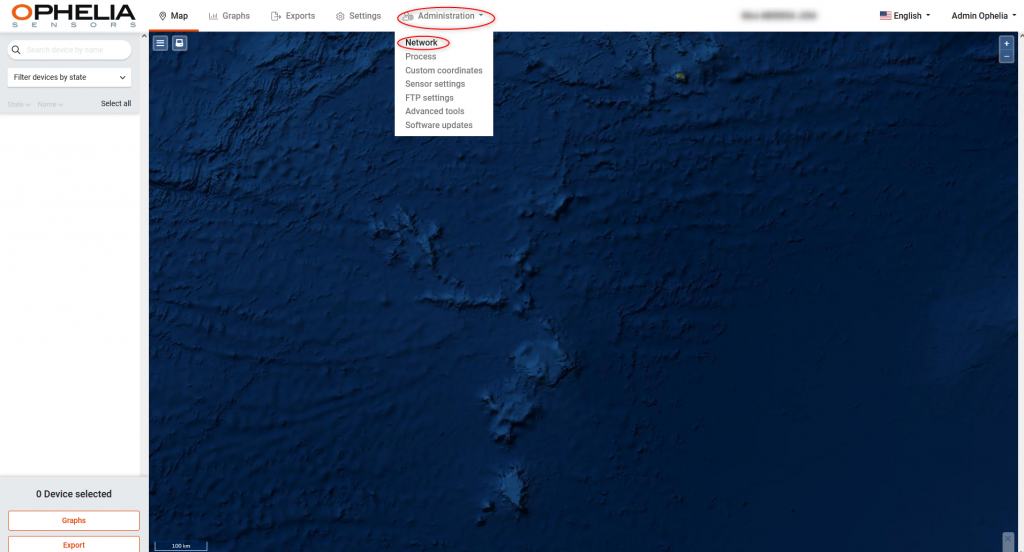
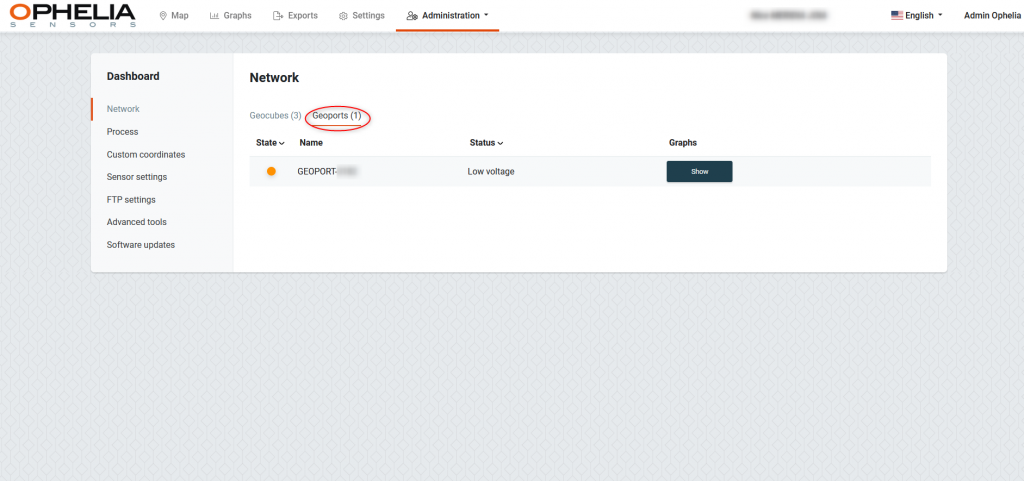
Once the 3G/LTE connection is established, and if the server address is correctly set, the Geoport should be connected to the server. To check this, log on to the server interface and click on the Administration page and choose Network. If your Geoport is connected, it should appear as Connected.
Adding Geocubes #
Detecting Geocubes #
You can now detect neighboring Geocubes. They obviously need to be powered to be detected. You can use the provided USB cables of the deployment pack if you are in an office setting.
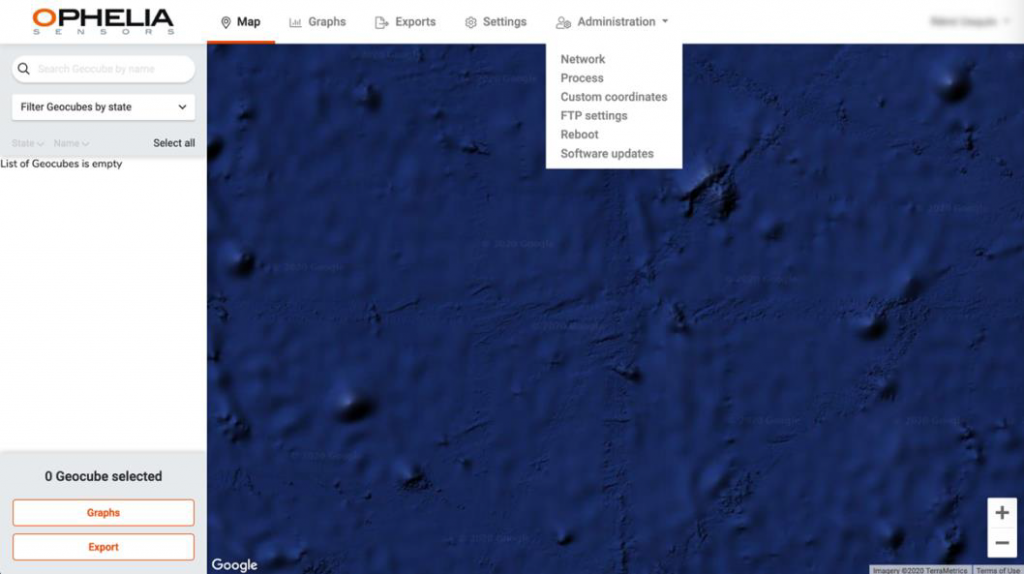
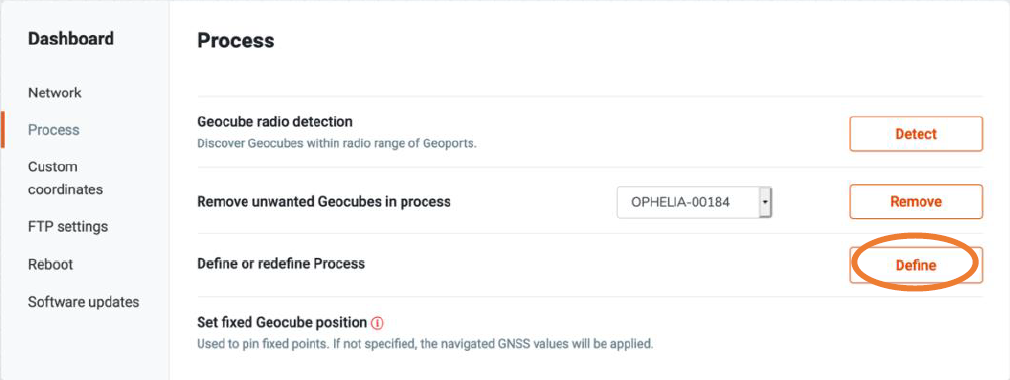
Go to the Administration – Process page.
You can now click on the « Detect » button.
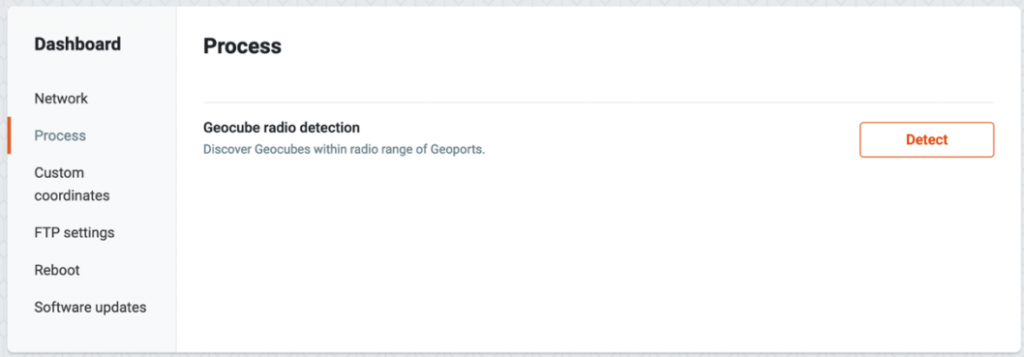
Wait for the Detection Process to complete. Geoport will scan its surroundings to detect the presence of Geocubes.
Once the process is completed, detected Geocubes will appear on the Map and Administration-Network page. They will appear in black given, at this stage, they are not included in a calculation process.
Setting up a Computation Process #
To compute positions, you need to parameter a computation process. At least two Geocubes, one of which on a fixed position out of the monitored zone, are needed.
Furthermore, the Geocubes need to have a clear skyview and be placed in the appropriate position. To get more details about the placement of the Geocubes, read this article.
Declaring fixed and mobile Geocubes #
Go to the Administration – Process page and click on the « Define » button, opposite to « Define or redefine Process ».
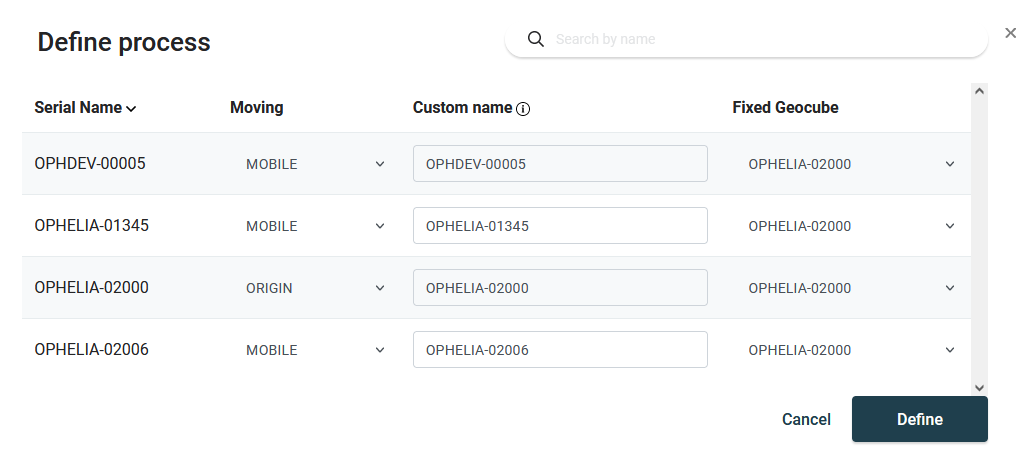
On the appearing screen, you can define which Geocubes are fixed and which are mobile. There are no limits to the number of fixed and mobile Geocubes in any given process.
Identify the Geocube you will use as a reference in your calculations and click on “Origin” in the drop-down menu in the “Moving property” column.
Setting Parameters for Mobile Geocubes #
For setting the parameters of a monitored Geocube, choose the line containing its name, and click on “Mobile” in the drop-down menu in the “Moving property” column.
In addition, you will need to define which is the fixed Geocube associated with that particular Geocube. To do so, select the name of the related fixed Geocube in the drop-down menu in the “Fixed Geocube” column. By default, the first fixed Geocube on the list will be chosen, which means if you have only one fixed Geocube in your project, you can skip this stage.
You can also define « Custom Names » for a fixed Geocube. Custom names can only contain letters, numbers, dashes, and underscores. The custom name is considered a physical location.
If you change the Geocube (thereby changing the serial name) but keep the same custom name, the computation will seamlessly continue and the graphs will display the positions of the current and previous Geocube on the same page.
If you change the Custom name of a Geocube, the system will consider it to be a new physical location and will therefore start plotting the graphs from the moment you defined that new name.
Click on Define, the computation process will immediately start. In normal conditions, it takes around 1 hour for a process to initially converge and start plotting precise positions.
The process is now defined and you don’t need to do anything else to compute precise positions.
Other Articles #
For more detailed information, you can read the following articles :